2.4 GHz Digital Wireless DVR
The 2.4 GHz Digital Wireless DVR is an innovative electrical mirror equipped with additional functionalities. Its primary purpose is to provide users with a clear view of their head’s rear, side, front, or any other part of the body they wish to observe. To ensure uninterrupted operation, the receiver includes a Lithium Battery that allows it to function even when unplugged.
Here’s what you can expect in the packaging:
Digital Wireless Camera
7 Inch Digital Wireless Receiver/Electrical Mirror Monitor
Lithium Battery for Receiver
Adapter for Camera and Receiver Electrical Mirror Monitor
High-Definition Viewing: Menu Operation Instructions
To make the most of your 2.4 GHz Digital Wireless DVR, follow these instructions for seamless menu navigation and optimal viewing experience:
High-Definition Viewing: Menu Operation Instructions:
To make the most of your 2.4 GHz Digital Wireless DVR, follow these instructions for seamless menu navigation and optimal viewing experience:
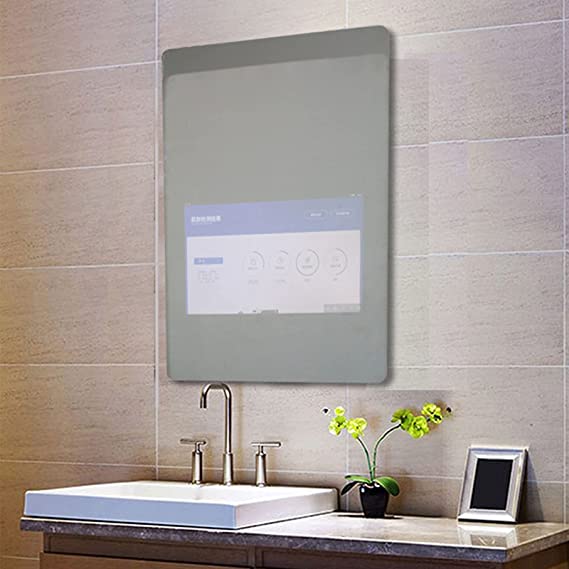
- Enter the Menu: While in preview mode, press the Menu button to access the main menu. If you don’t initially see yourself in the mirror, ensure that the camera is plugged in and the receiver mirror monitor is turned on and properly connected.
2. Record Submenu: Within the main menu, use the up, down, left, and right keys to navigate to the “Record” option. Press the enter key to enter the submenu.
Note: The “Record Mode” option offers four sub-options:
• Looping: Enables loop recording, automatically overwriting previous recordings.
• Manual: Allows manual control of the recording mode…
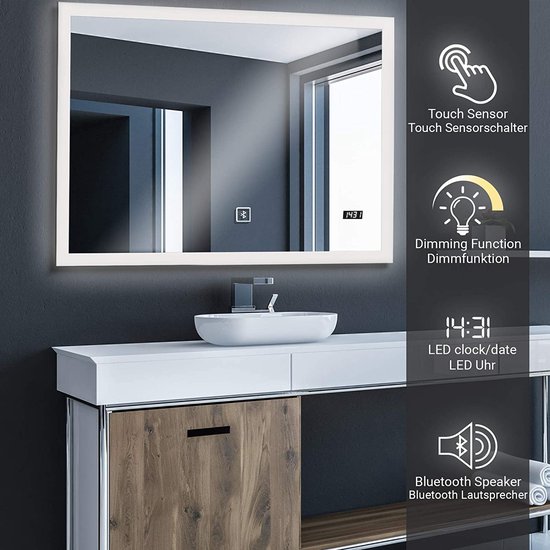

3. Playback Submenu: Within the main menu, select the “Playback” option by using the navigation keys (up, down, left, and right) and pressing the enter key.
Note: The submenu includes four folders: EMG, TIMELAPS, Photo, and Video. When accessing the PHOTO or VIDEO sub-folders, use the up and down keys to select the desired file. To play a video, select it and press the enter key.
Setting Submenu: In the main menu, navigate to the “Setting” option using the navigation keys and press the enter key to access the submenu.
Note: Use the up and down keys to switch between sub-options. When selecting the “Date & Time” option, you can enter the time and date setting submenu.
Note: To modify settings, use the left and right keys to select the content you wish to change. Then, use the up and down keys to make adjustments. Press the enter key to save the settings.

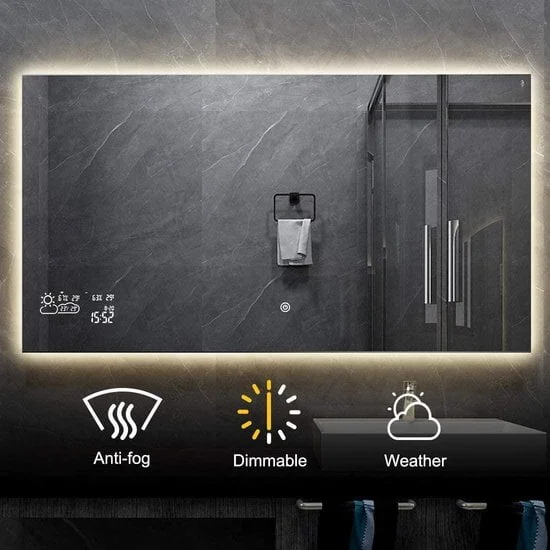
5. Recording Mode Quick Setting: In preview mode, press and hold the REC button for 3 seconds to access the recording mode quick settings.
6. Brightness Shortcut Setting: While in preview mode, use the up and down keys to adjust the brightness. Press the up button to increase brightness and the down button to decrease it.
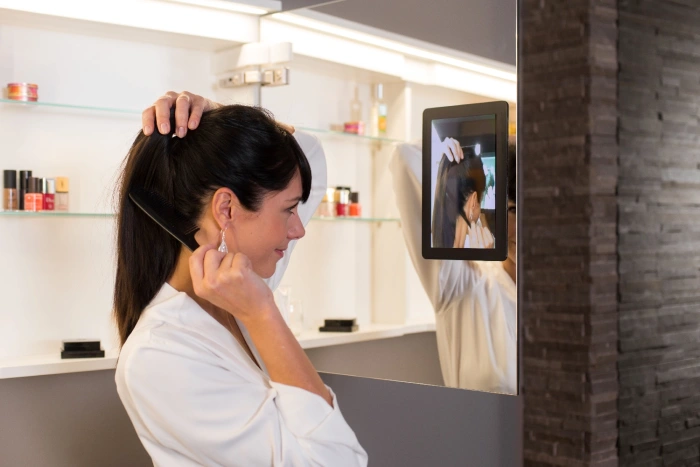

7. Adjustable Stand and Base for Electrical Mirror Camera: The 2.4 GHz Digital Wireless DVR includes a versatile stand and base for convenient positioning of the electrical mirror camera.
With these simple instructions, you’ll be able to maximize the functionality and performance of your 2.4 GHz Digital Wireless DVR. Enjoy the enhanced viewing experience and explore the countless possibilities it offers. Feel free to refer back to this guide whenever you need assistance.


